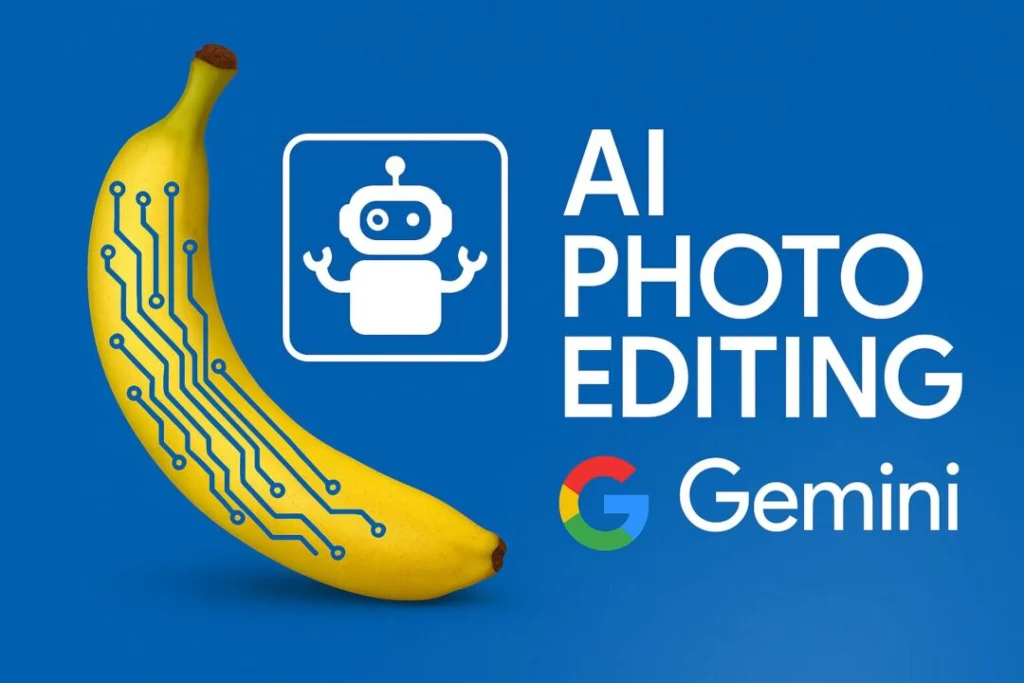
You know what? I’ve been absolutely fascinated by Google’s latest AI developments, and honestly, their image editing capabilities in Gemini have completely blown me away. I mean, we’re talking about a tool that can literally understand what you want to do with an image just by describing it in plain English. It’s like having a conversation with your computer about art – which, let me tell you, still feels pretty surreal even after months of using it. Google has revolutionized AI image editing with the launch of Nano Banana, the codename for their groundbreaking Gemini 2.5 Flash Image model.
Google Gemini: Image Editing Gets a Major Upgrade
Actually, let me back up a bit here. When I first heard about Google integrating advanced image generation into Gemini, I was… well, skeptical. I’ve tried so many AI image tools that promised the world and delivered mediocre results. But this? This is different.
What is Google Gemini’s Image Generation?
So here’s the thing – Google Gemini’s image generation isn’t just another AI tool thrown into the mix. It’s built on Google DeepMind’s multimodal architecture, which is a fancy way of saying it can actually understand both text and images at the same time. I’ve found this makes a huge difference when you’re trying to explain exactly what you want.
What really gets me excited about this is how it integrates with Gemini’s conversational AI. You’re not just uploading an image and hoping for the best – you’re having an actual dialogue about what you want to achieve. It’s honestly pretty magical when it works well.
Key Features That Set Google Gemini Apart
Okay, so after spending countless hours testing this thing (probably more than I should admit), here are the features that really make it stand out:
- Character Consistency Preservation: This is where I think Google really nailed it. You know how frustrating it is when you’re editing a photo of someone and the AI completely changes their face? Well, Gemini actually remembers what people look like. I’ve edited the same person across multiple images, and it maintains their likeness remarkably well. It’s not perfect – nothing is – but it’s impressively consistent.
- Multi-Turn Editing Capabilities: Here’s what’s really cool – the AI remembers your previous edits. So if I tell it to change the background, then ask it to adjust the lighting, it understands the context of both requests. It’s like having a conversation with a really smart photo editor who never forgets what you’ve discussed.
- Natural Language Processing: I can literally say “make this look more professional” or “can you brighten up her smile a bit?” and it just… gets it. No complicated menus or technical jargon required.
Introducing Google Gemini’s Image Generation: Our State-of-the-Art Image Model
Technical Specifications
Now, I’m not usually one to get excited about technical specs (honestly, they usually put me to sleep), but Google’s approach here is genuinely interesting. They’ve built this on what they call a “native multimodal architecture” – basically, it processes text and images simultaneously rather than treating them as separate things.
What this means in practice is:
- The AI can analyze your image in real-time while you’re talking to it
- It understands context better (like knowing that a person in a business suit probably wants a professional background)
- It taps into Google’s massive knowledge base, so it knows what things should look like
- They’ve built in safety measures that actually work (more on that later)
Key Capabilities
I’ve been testing these features pretty extensively, and here’s what I’ve found works really well:
- Creating images from scratch using natural language (though I still prefer editing existing photos)
- The integration with Google’s knowledge base is surprisingly helpful – it knows what a “1950s diner” should look like
- The artistic style options are pretty impressive, though some work better than others
- The safety features are robust without being overly restrictive
How to Access Google Gemini’s Image Generation
Alright, so you want to try this yourself? Here’s how I typically get started:
- Access Gemini: Head over to gemini.google.com and sign in. You’ll need a Google account, obviously.
- Check Availability: Now, here’s where it gets a bit frustrating – the image generation features aren’t available everywhere yet. I’m in the US and have access, but I know folks in other regions who are still waiting. It also depends on your account type.
- Start Creating: This is the fun part! Just describe what you want in normal language. I usually start with something simple like “edit this photo to make the background more professional.”
- Refine Results: Don’t expect perfection on the first try. I typically go back and forth a few times, making small adjustments until I get what I want.
Advanced Editing Techniques
Multi-Image Composition
This is where things get really interesting. I discovered you can actually blend multiple images, and the results can be surprisingly good:
- Upload your main image
- Add reference images for elements you want to incorporate
- Try prompts like “blend these images naturally” or “combine the lighting from image A with the background from image B”
I’ll be honest – this doesn’t always work perfectly, but when it does, it’s pretty amazing.
Style Transfer and Artistic Effects
You know what I love about this feature? You don’t need to know the technical names for different artistic styles. I can just say:
- “Make this look like it was shot on vintage film.”
- “Give it that dreamy watercolor effect.”
- “Make it look like a professional magazine cover.”
The AI usually understands what I’m going for, even if my descriptions are pretty vague.
Background Replacement and Scene Changes
This is probably my most-used feature. I can take a photo of someone in their messy bedroom and transport them to:
- “A clean, modern office space”
- “A tropical beach at sunset”
- “A cozy coffee shop”
The key is being specific about the mood and lighting you want.
AI Image Generation vs. Traditional Editing Tools
Look, I’ve been using Photoshop for years, and I’m not about to throw it away. But here’s how I think about the differences:
Advantages of AI-Based Editing:
- Accessibility: My mom can use this. Seriously. No learning curve.
- Speed: What takes me 30 minutes in Photoshop might take 30 seconds here
- Creativity: I can describe something that doesn’t exist and see it come to life
When Traditional Tools Excel:
- Precision: When I need pixel-perfect control, Photoshop still wins
- Professional Workflows: For client work, I still rely on traditional tools
- Consistency: When I need the same result every time
Actually, let me be honest here – I use both. They complement each other really well.
Current Status and Availability
Here’s the frustrating part (and I wish Google were more transparent about this): availability is all over the place. As of early 2025, access depends on:
- Where you live (some countries don’t have access yet)
- Your account type (some features require paid subscriptions)
- Google’s rollout schedule (which seems pretty random to me)
I’d recommend checking the official Google Gemini documentation for current availability in your area. It’s annoying, but that’s the reality right now.
Responsible AI and Safety Measures
Okay, so this is important stuff that I think Google actually handles pretty well:
- Content Filtering: The system won’t generate inappropriate content. I’ve tested this (for research purposes, obviously), and it’s pretty robust.
- Watermarking: All AI-generated images get invisible watermarks. You can’t see them, but they’re there for identification purposes.
- Usage Guidelines: There are clear rules about what you can and can’t do. Worth reading if you’re planning commercial use.
Real-World Testing Results
I’ve put this thing through its paces over the past few months, and here’s my honest assessment:
Strengths:
- Portrait editing is genuinely impressive
- Background replacement works better than I expected
- The creative style applications are fun and often surprisingly good
- It handles multiple edits on the same image really well
- The interface is refreshingly simple
Limitations:
- Complex technical retouching still requires traditional tools
- Fine detail work isn’t its strong suit
- If you need something print-ready for professional use, you’ll probably need additional editing
- The AI sometimes makes creative choices I wouldn’t make
Professional Use Cases and Applications
Content Creation and Social Media
I know several content creators who’ve started using this for:
- Influencer Content: Maintaining consistent branding across posts while keeping things looking natural
- Marketing Materials: Creating multiple variations of the same concept quickly
- Social Media Optimization: Adapting images for different platforms without starting from scratch
Business and E-commerce
This is where I think the tool really shines:
- Product Photography Enhancement: I helped a friend improve their Etsy product photos, and the difference was night and day
- Real Estate Marketing: Changing seasonal contexts or improving lighting in property photos
- Professional Headshots: Turning casual photos into LinkedIn-worthy headshots
Tips for Optimal Results
Crafting Effective Prompts
After months of trial and error, here’s what I’ve learned works best:
- Be Descriptive: Instead of “make it better,” try “brighten the lighting and make the background more professional”
- Use Reference Context: Mention specific styles or eras. “1990s magazine aesthetic” works better than “retro”
- Iterate Gradually: Don’t try to change everything at once. Make one adjustment, see how it looks, then make another
Best Practices for Image Selection
- High-Quality Source Images: Garbage in, garbage out. Start with the best photo you have
- Clear Subject Definition: The AI works better when it can clearly identify what you want to edit
- Appropriate Resolution: Don’t expect miracles from tiny, pixelated images
Limitations and Considerations
Current Constraints
Let me be real about what doesn’t work well:
- Text Rendering: While it’s improved, adding or editing text in images is still hit-or-miss
- Extreme Transformations: Asking it to completely change someone’s appearance often produces weird results
- Batch Consistency: Processing multiple images sometimes gives slightly different results
Privacy and Ethics
This stuff matters, so pay attention:
- Watermarking: Every edited image gets marked as AI-generated
- Usage Rights: Make sure you own or have permission to edit the original images
- Content Guidelines: Follow Google’s rules – they’re pretty reasonable but worth understanding
Future Developments and Updates
Google keeps improving this thing, which is exciting. They’re working on:
- Better text rendering (finally!)
- Even more consistent character representation
- Expanded artistic style options
- Improved factual accuracy in generated content
I’m particularly excited about the text improvements – that’s been my biggest frustration.
Conclusion
You know what? Despite its limitations, Google Gemini’s image generation has genuinely changed how I approach photo editing. It’s not going to replace professional tools for serious work, but for everyday editing tasks, it’s incredibly powerful and surprisingly intuitive.
The fact that I can have a conversation with an AI about what I want to achieve with an image still feels a bit like science fiction to me. And honestly? It usually understands what I’m going for better than I expected.
Is it perfect? Absolutely not. But it’s pretty remarkable, and it’s only going to get better.
For the most current information about what’s available and how to access it, I’d recommend checking the official Google AI documentation and Gemini help center. Things change pretty frequently in this space, so it’s worth staying up to date.
Actually, let me leave you with this thought: we’re living through a pretty incredible time in terms of AI development. Tools like this would have been pure fantasy just a few years ago. Whether you’re a professional creator or just someone who wants to make their photos look better, it’s worth experimenting with what’s possible now.
Just… maybe don’t spend as many hours playing with it as I have. There are probably better uses of your time!